Prefer a plain-text walkthrough? See how to get a YouTube API Client ID and Secret. Not sure whether you need OAuth or a server key? Read do you need a YouTube API key for WordPress? When you’re done, head to the YouTube video importer.
OAuth is the recommended way to connect Video Hub to YouTube. It lets you import any public video plus your own playlists and unlisted videos, with a smoother, more capable connection than a plain server key. This guide walks you through creating an OAuth Client ID and Client Secret in the Google Cloud Console and adding them to Video Hub.
What is a YouTube Client ID and Client Secret?
A YouTube Client ID and Client Secret are OAuth 2.0 credentials issued by Google Cloud. They let your WordPress site authenticate with the YouTube Data API v3 so it can read channels, playlists and videos — including your own unlisted videos and private playlists. Follow the steps below to create them.1. Create a Google Cloud project
Sign in to the Google Cloud Console. This is your starting point.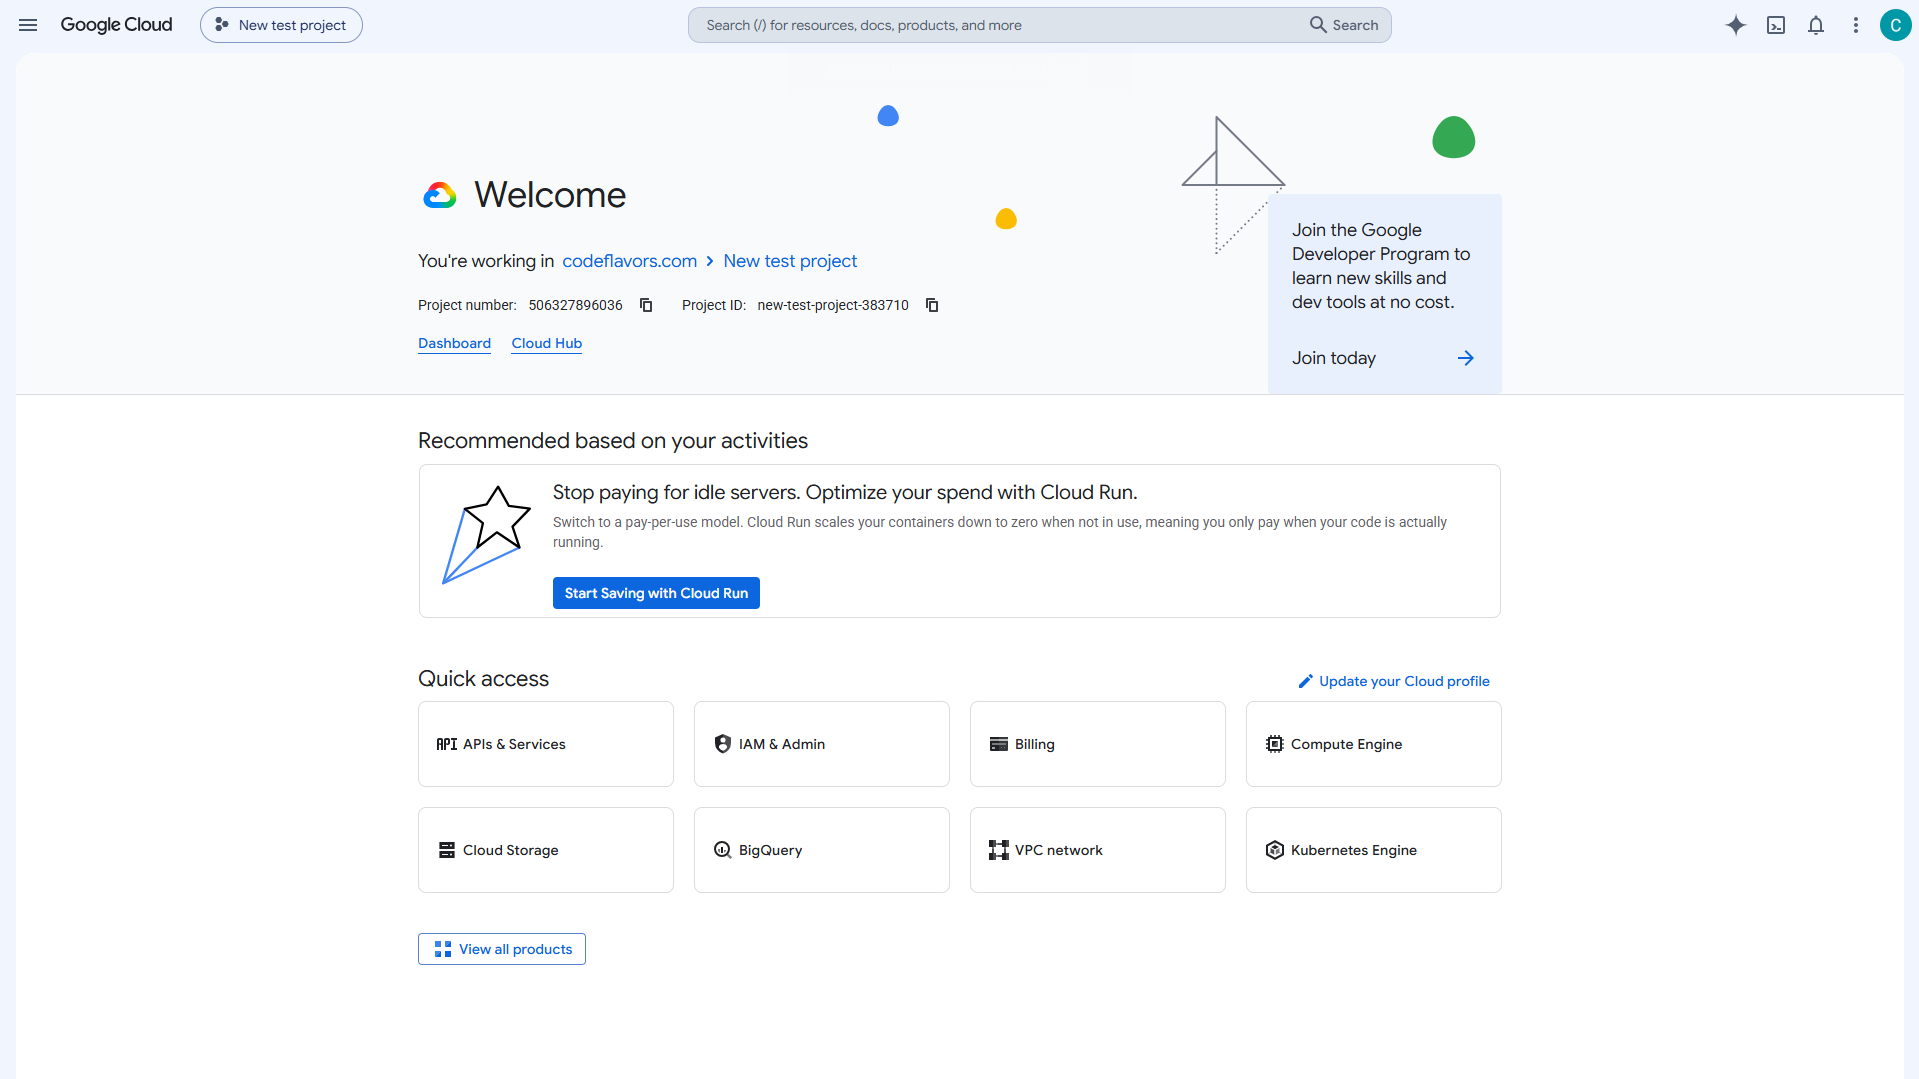 Click the project selector at the top of the page, then click New project.
 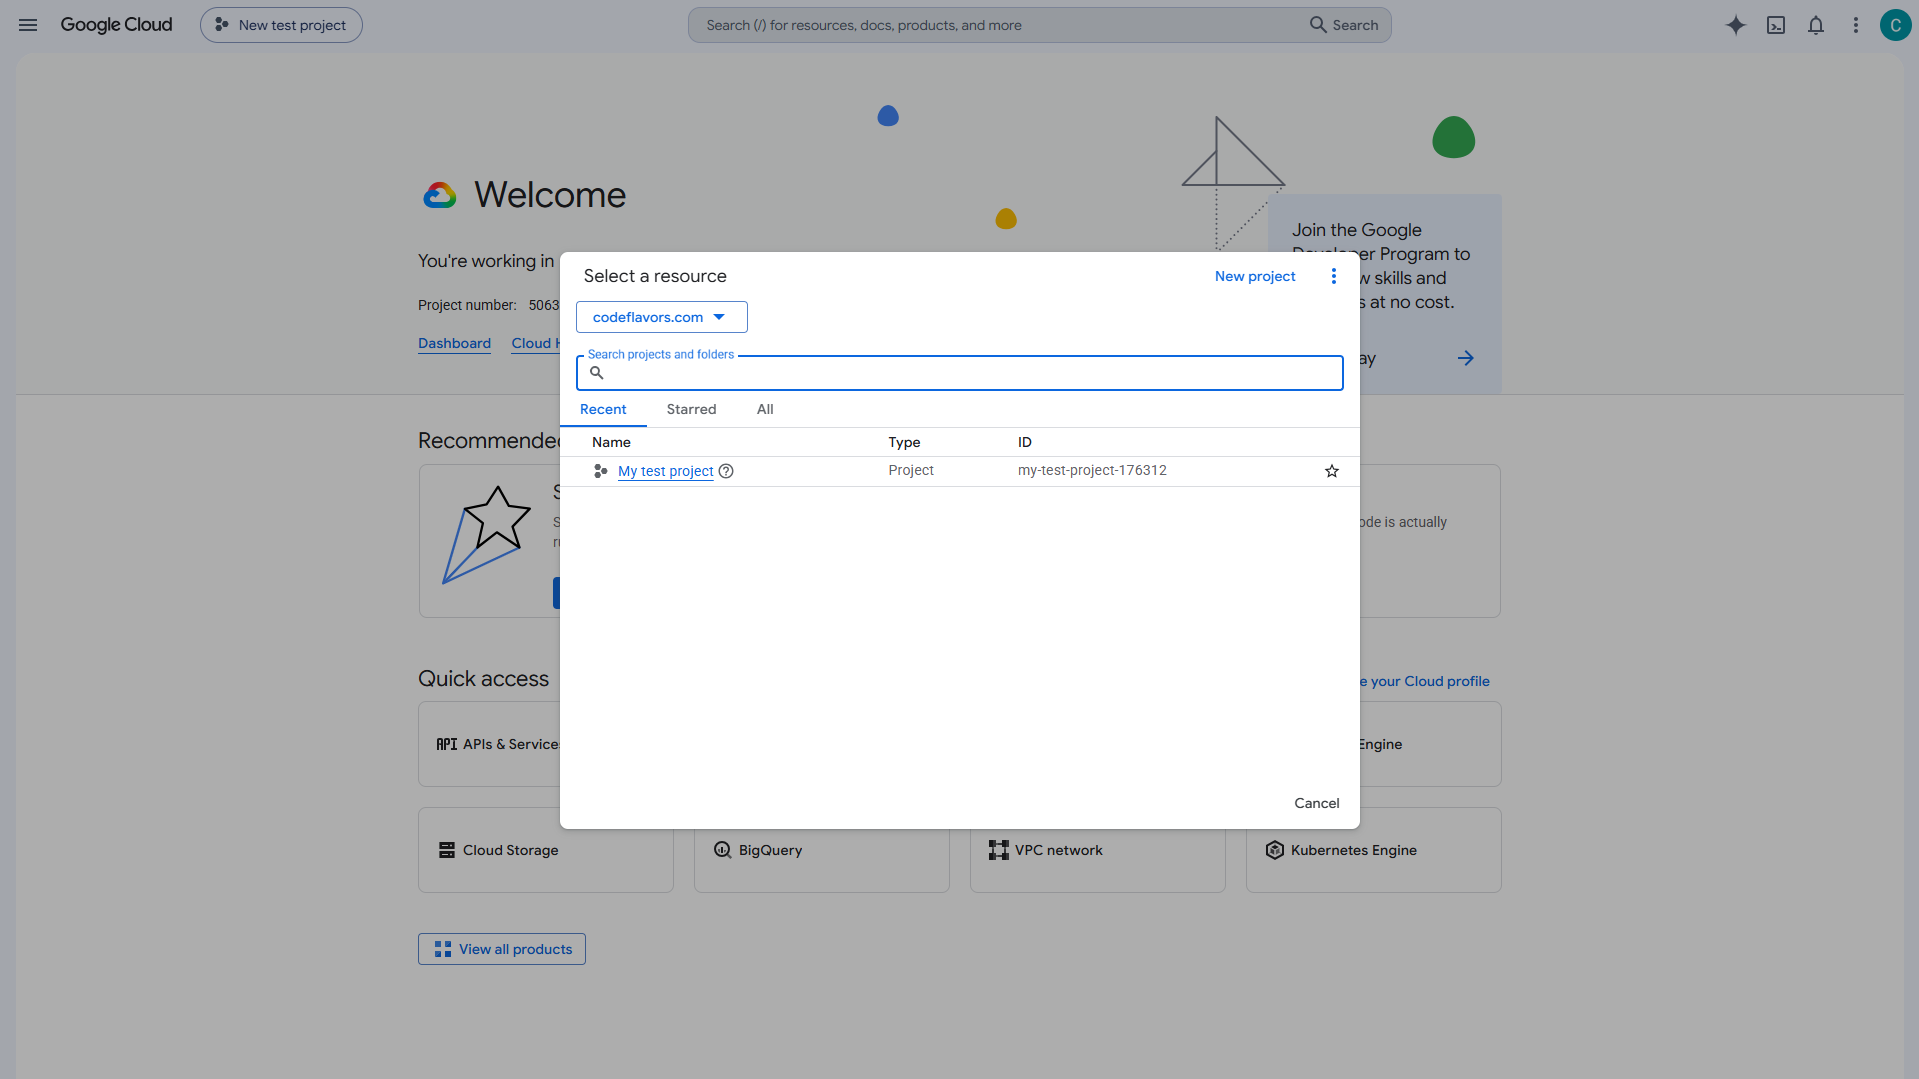 Give the project a name and click Create.
 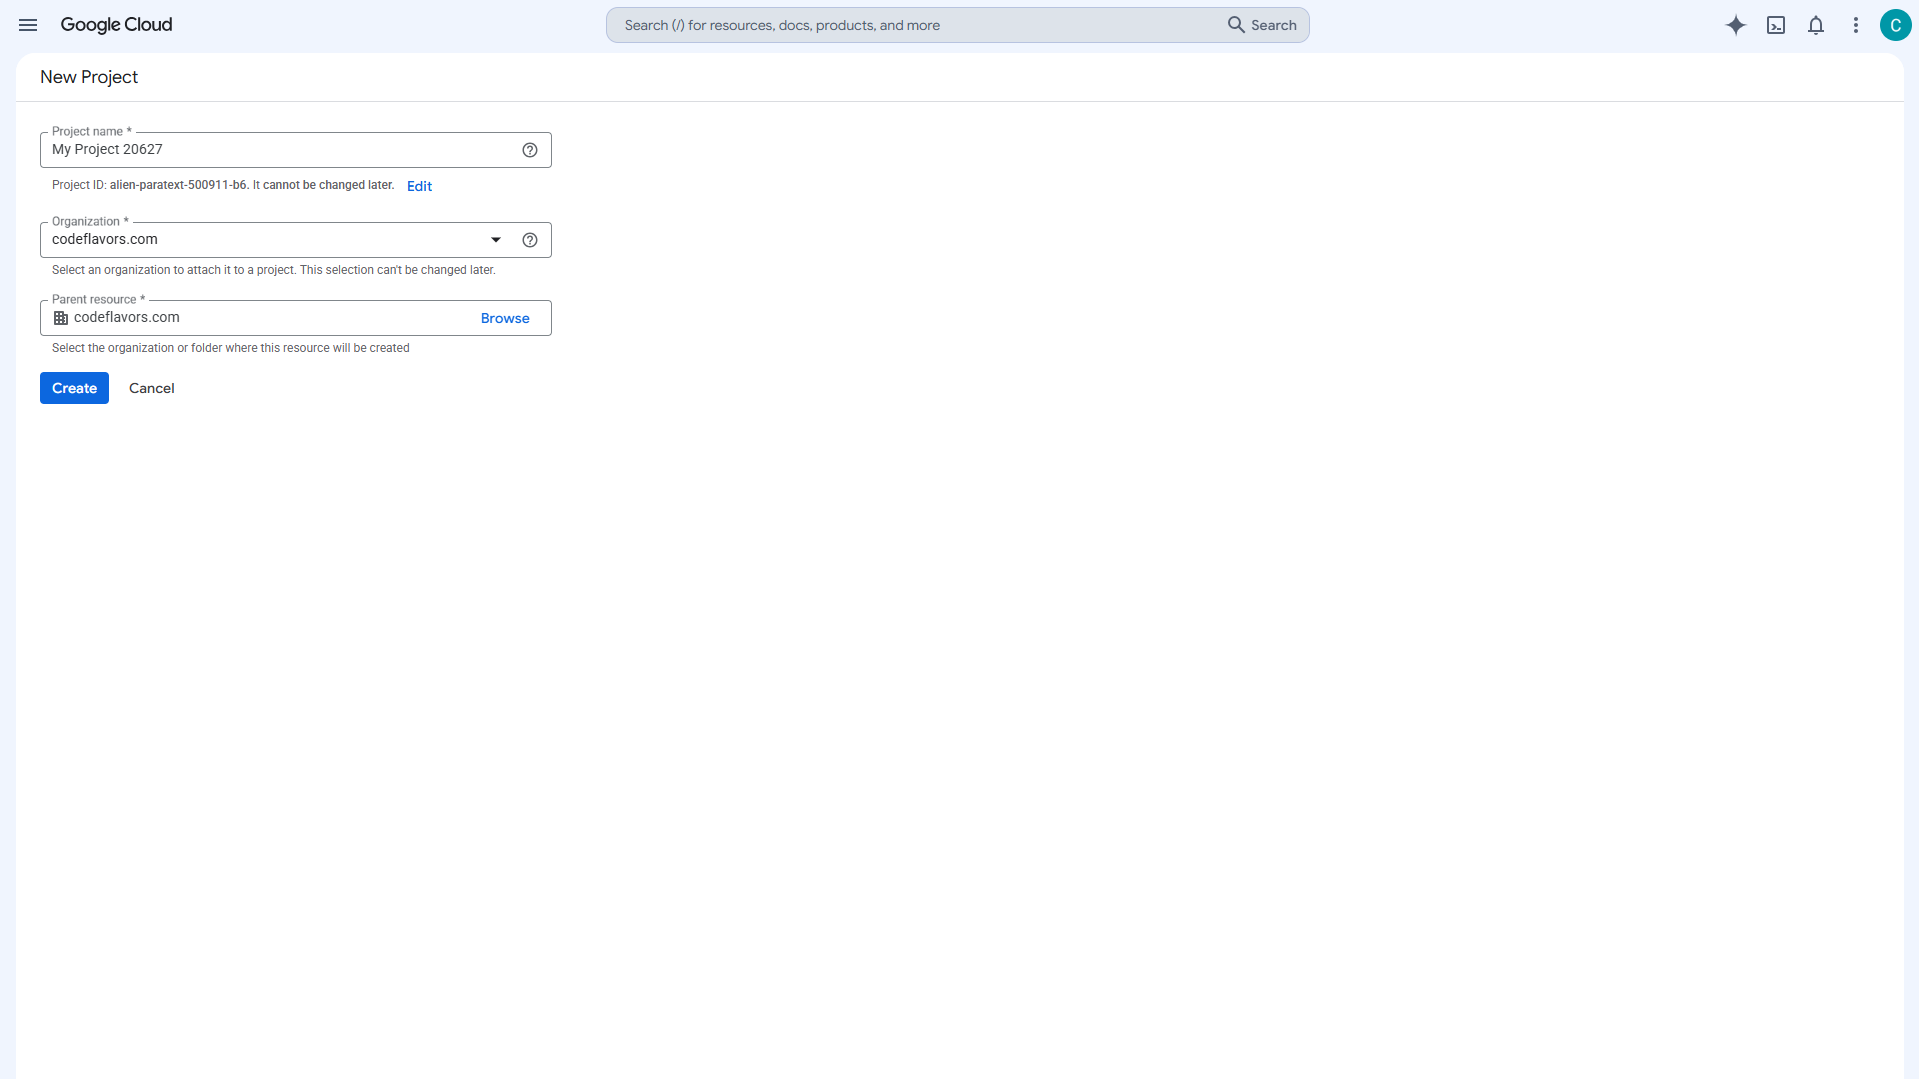 Once it’s created, open the project. You’ll land on the APIs & Services dashboard.
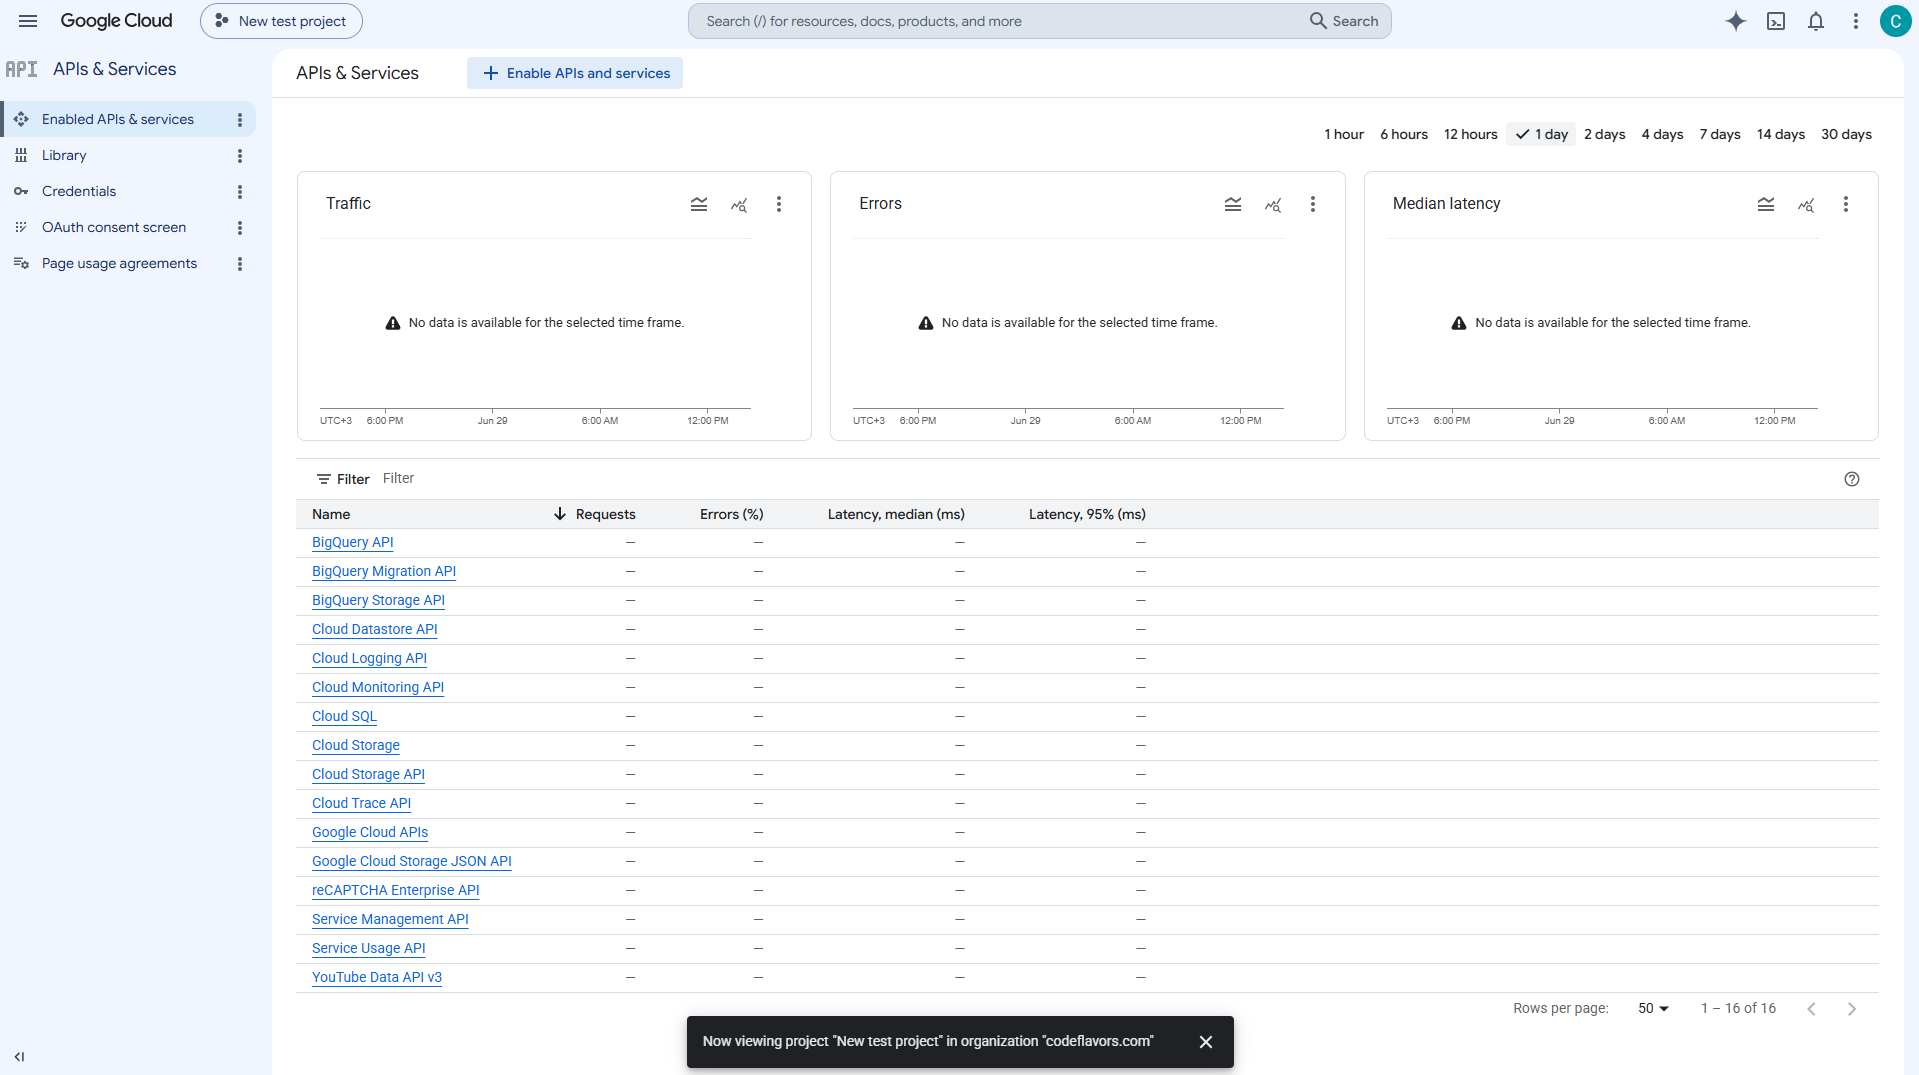
2. Enable the YouTube Data API v3
Open the API Library, search for “YouTube Data API v3”, and click the result.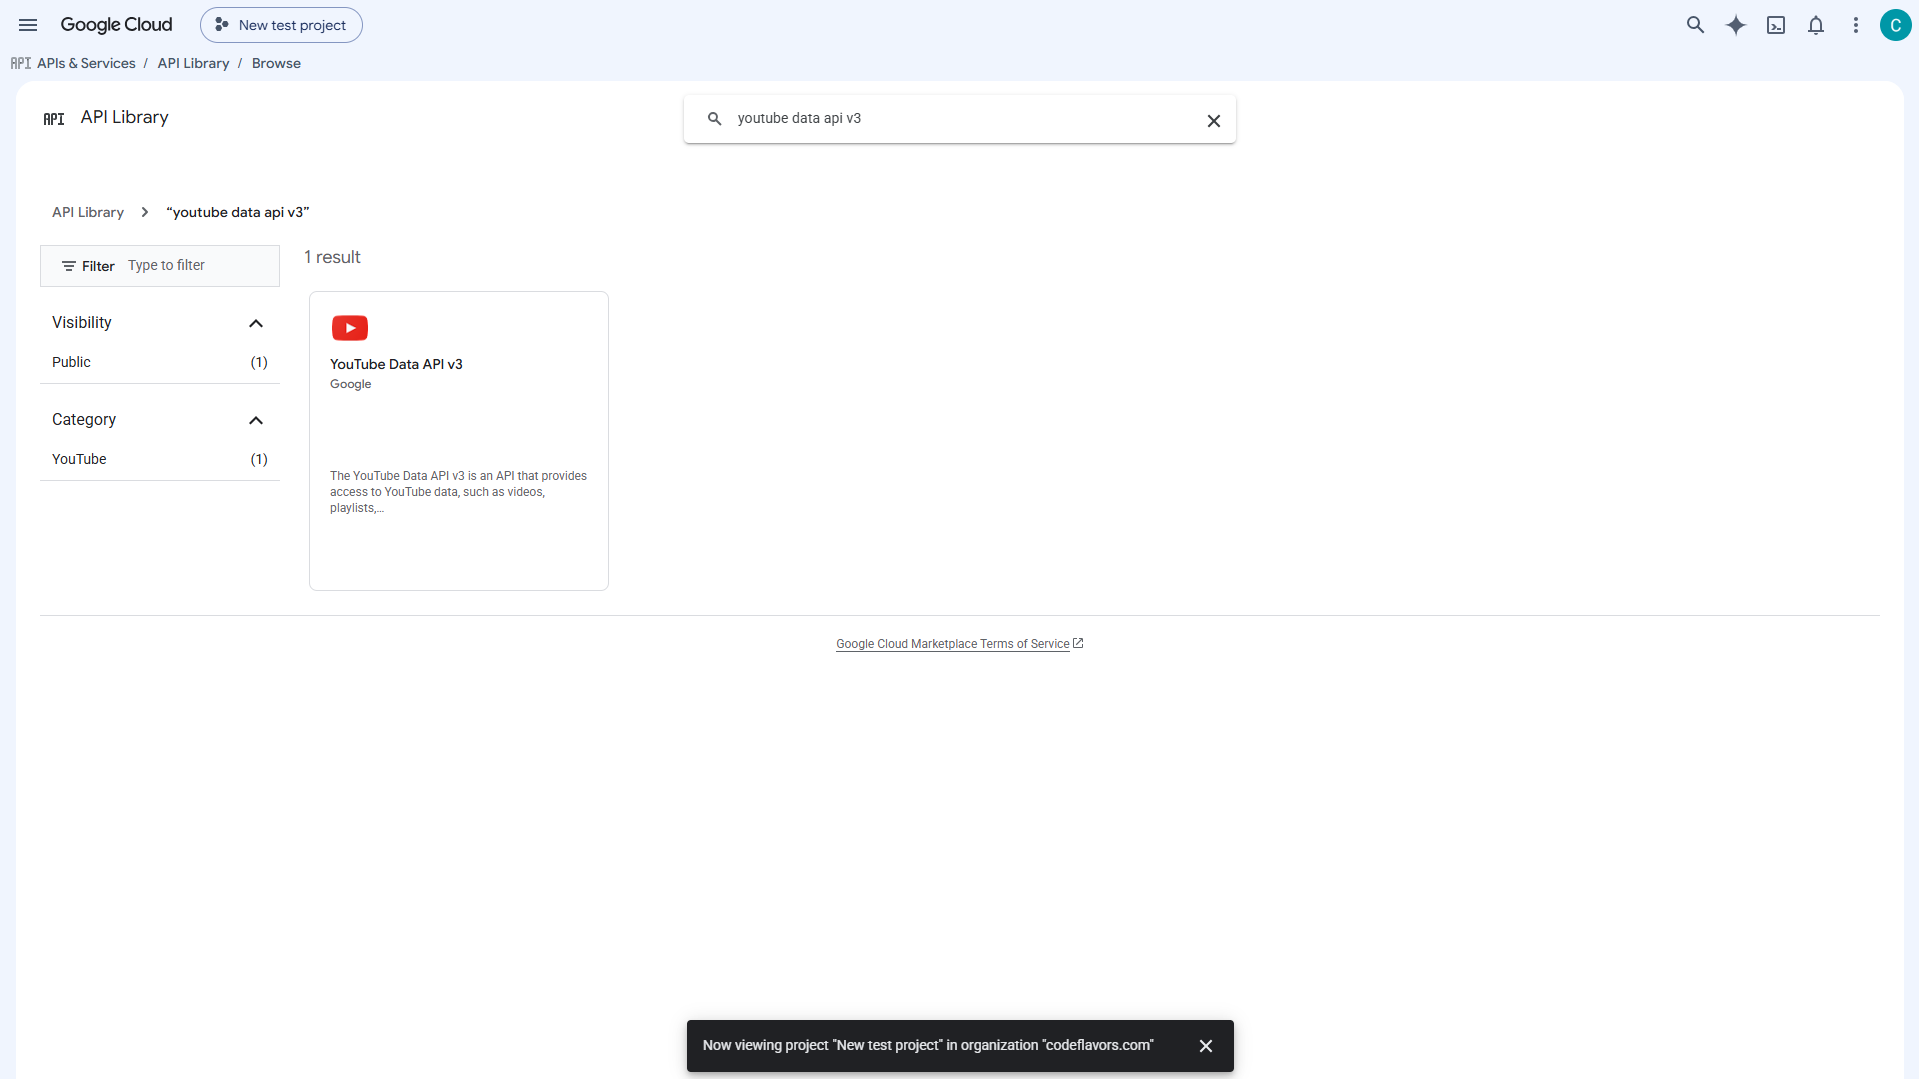 Click Enable. The API now shows as enabled for your project.
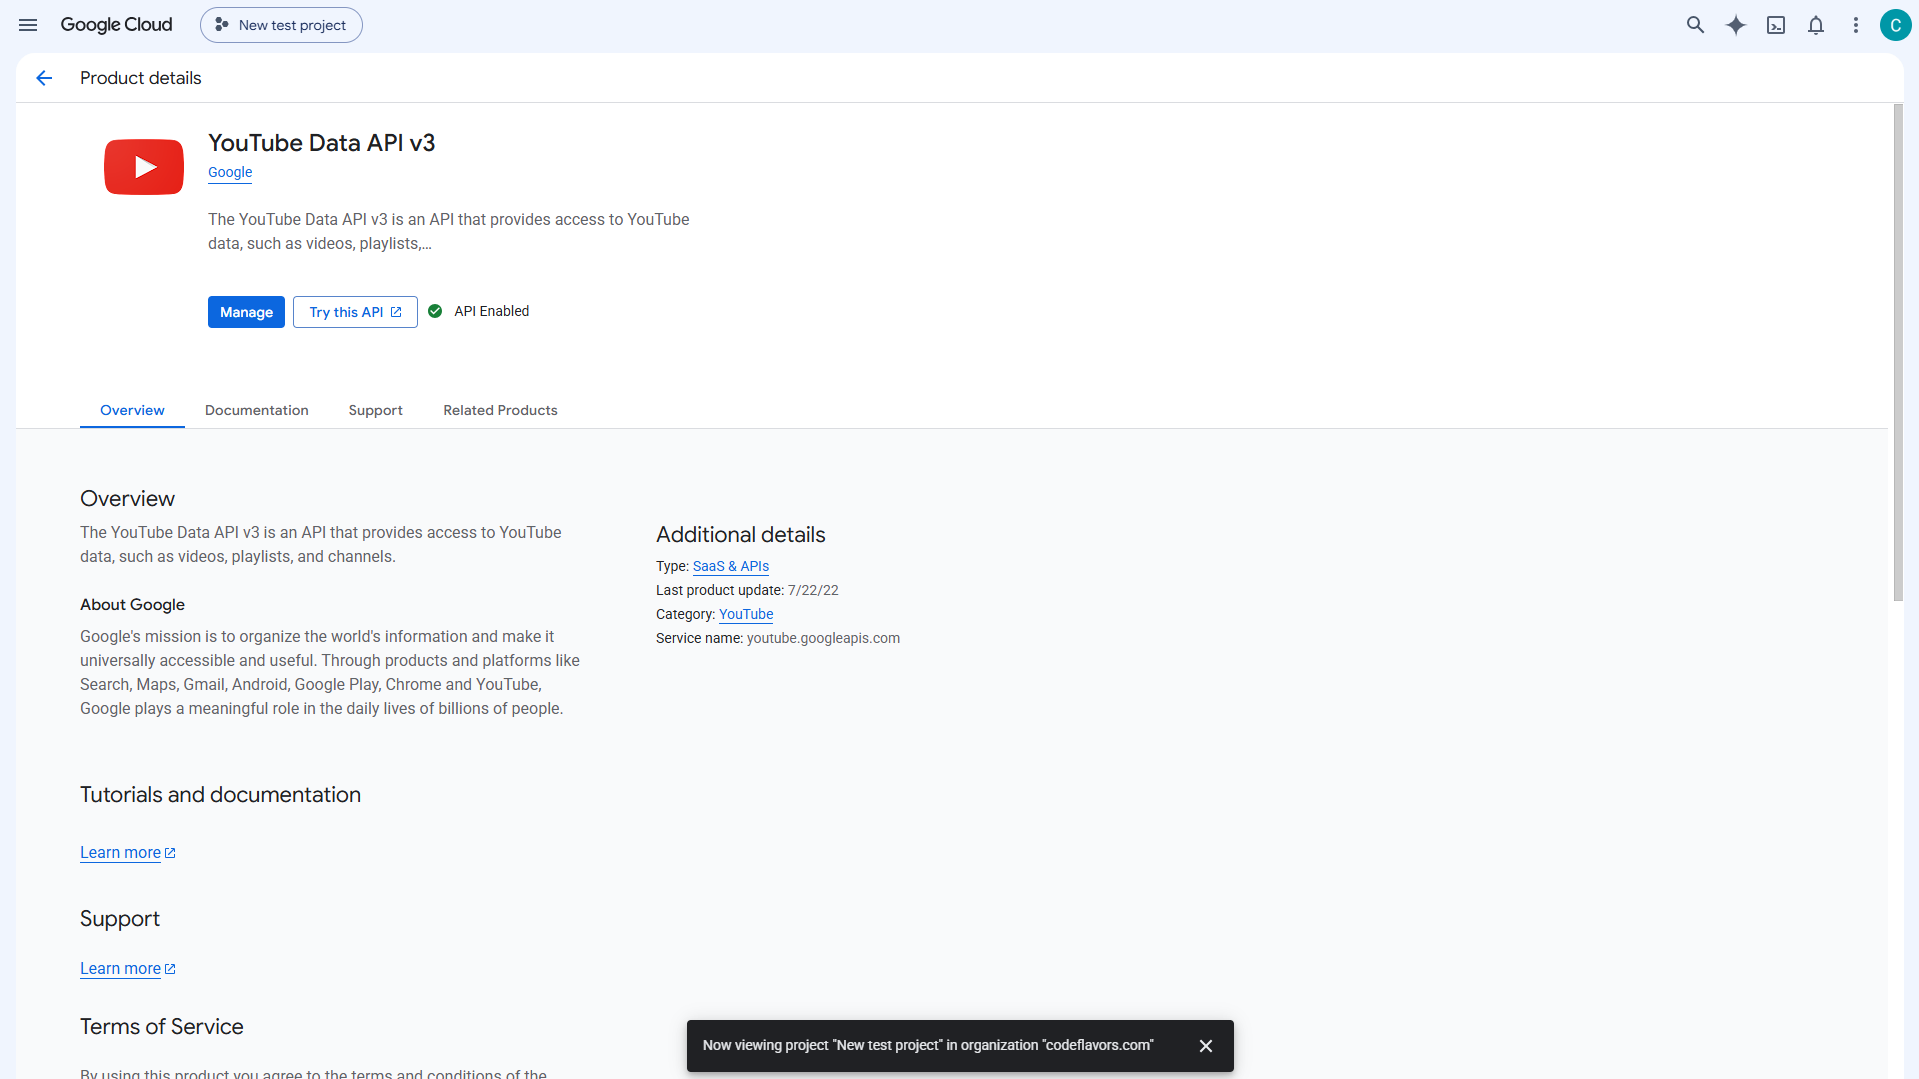
3. Create an OAuth client
In the left menu, open Credentials.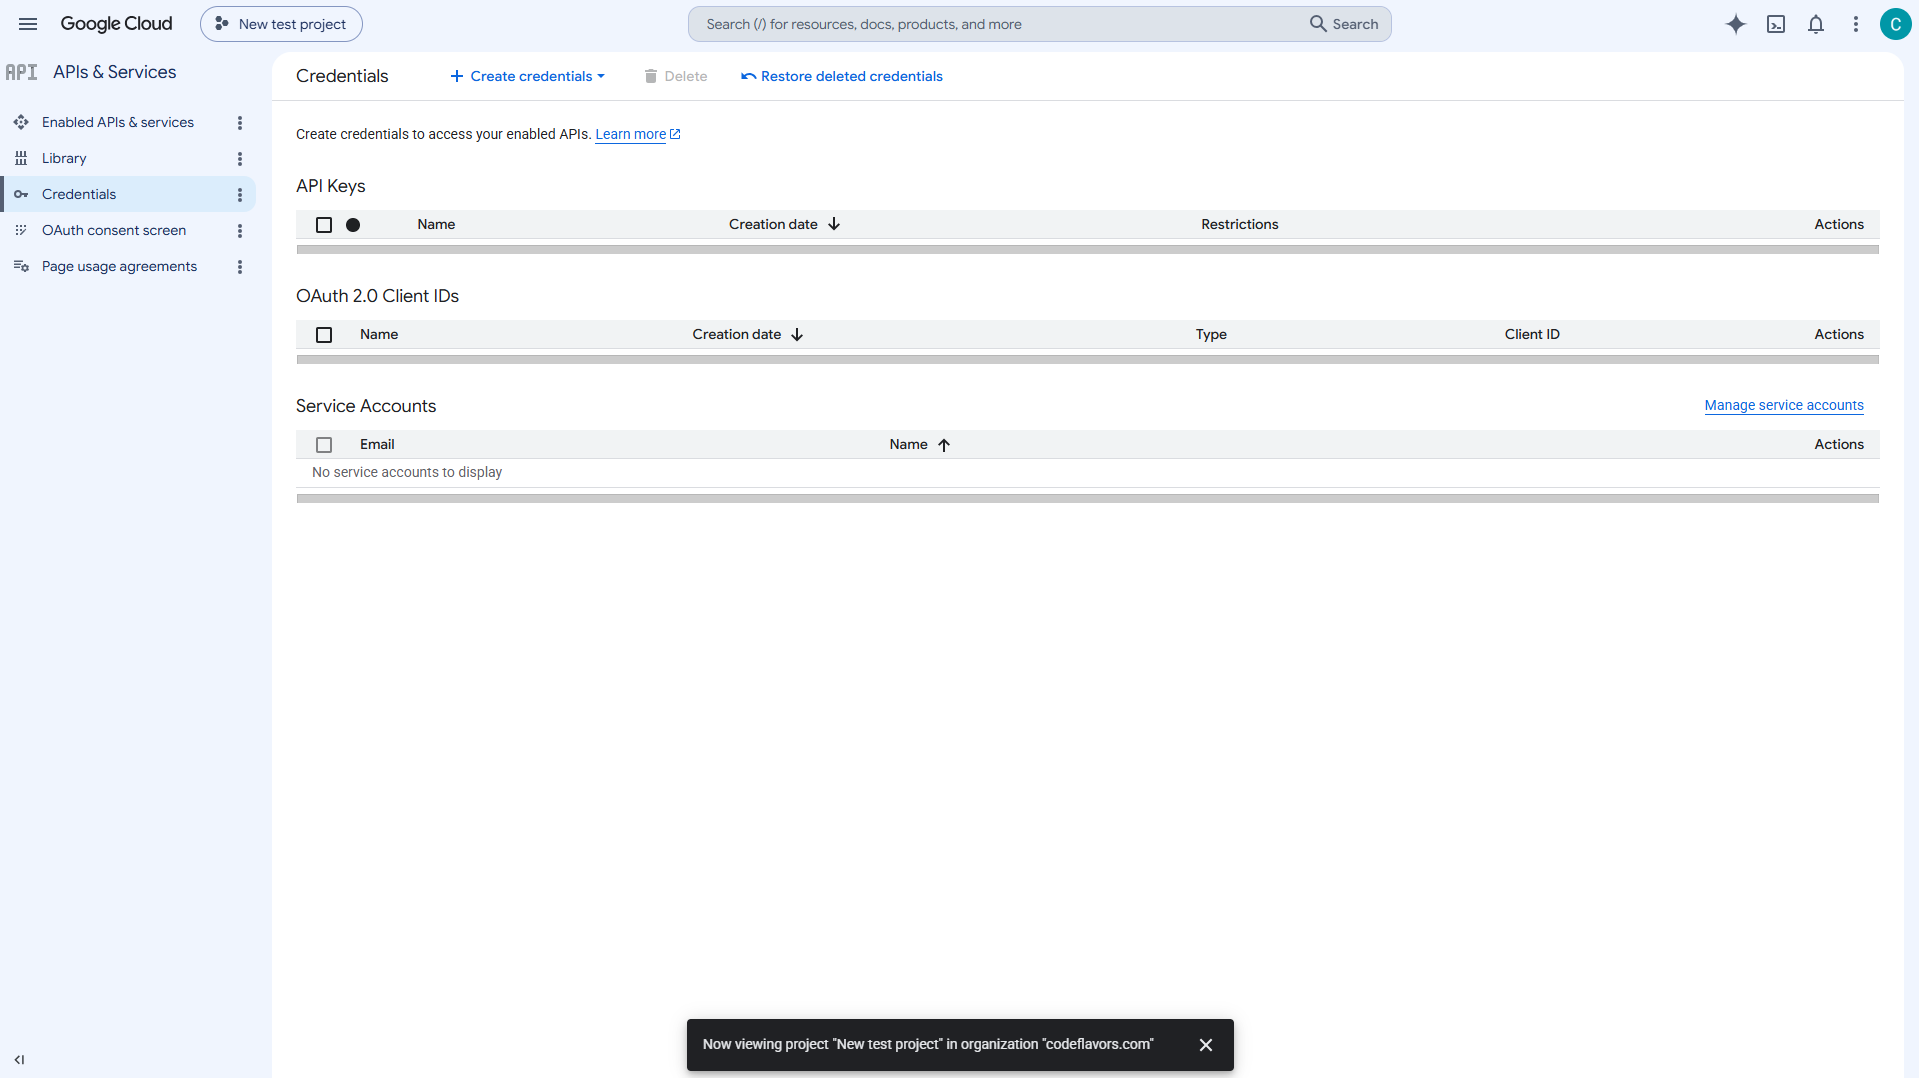 Click Create credentials and choose OAuth client ID.
 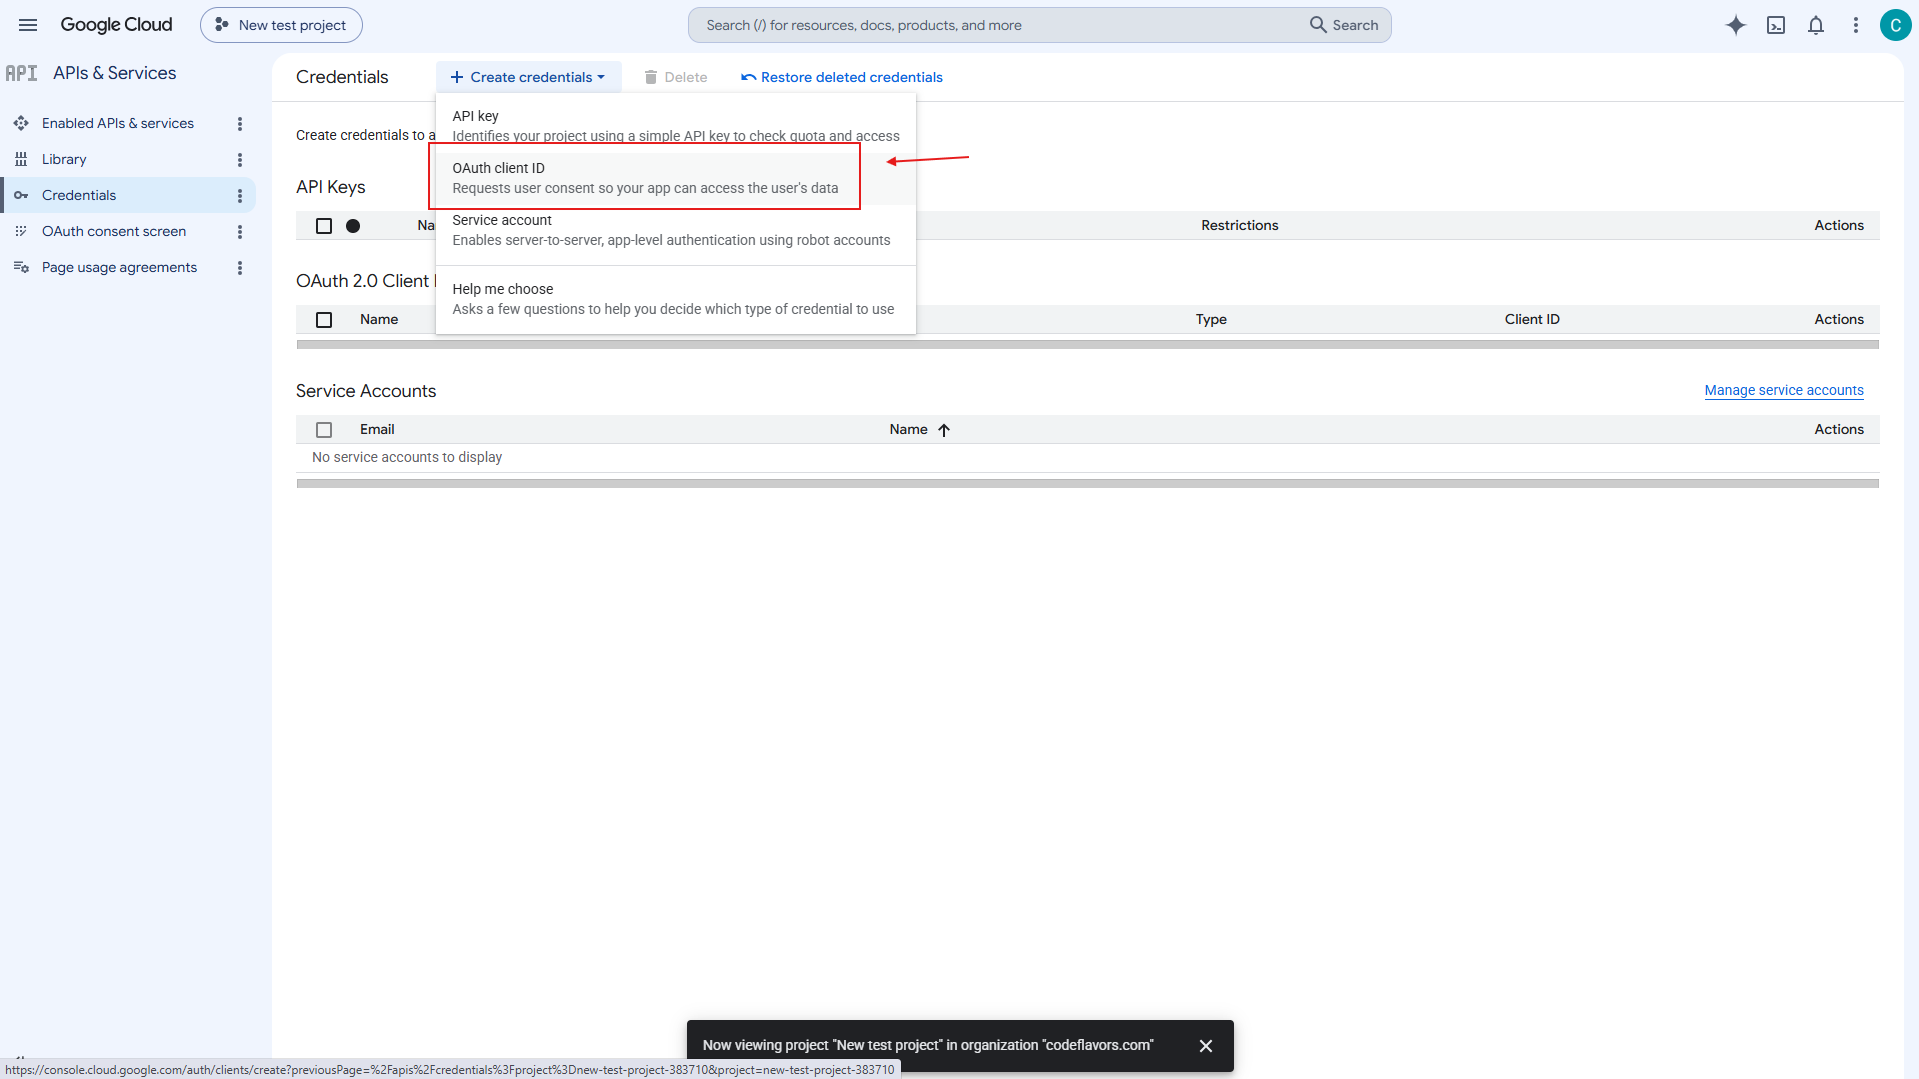 Set Application type to Web application and give the client a name (for example, “Video Hub”). Don’t click Create just yet — you’ll add your redirect URI in step 5.
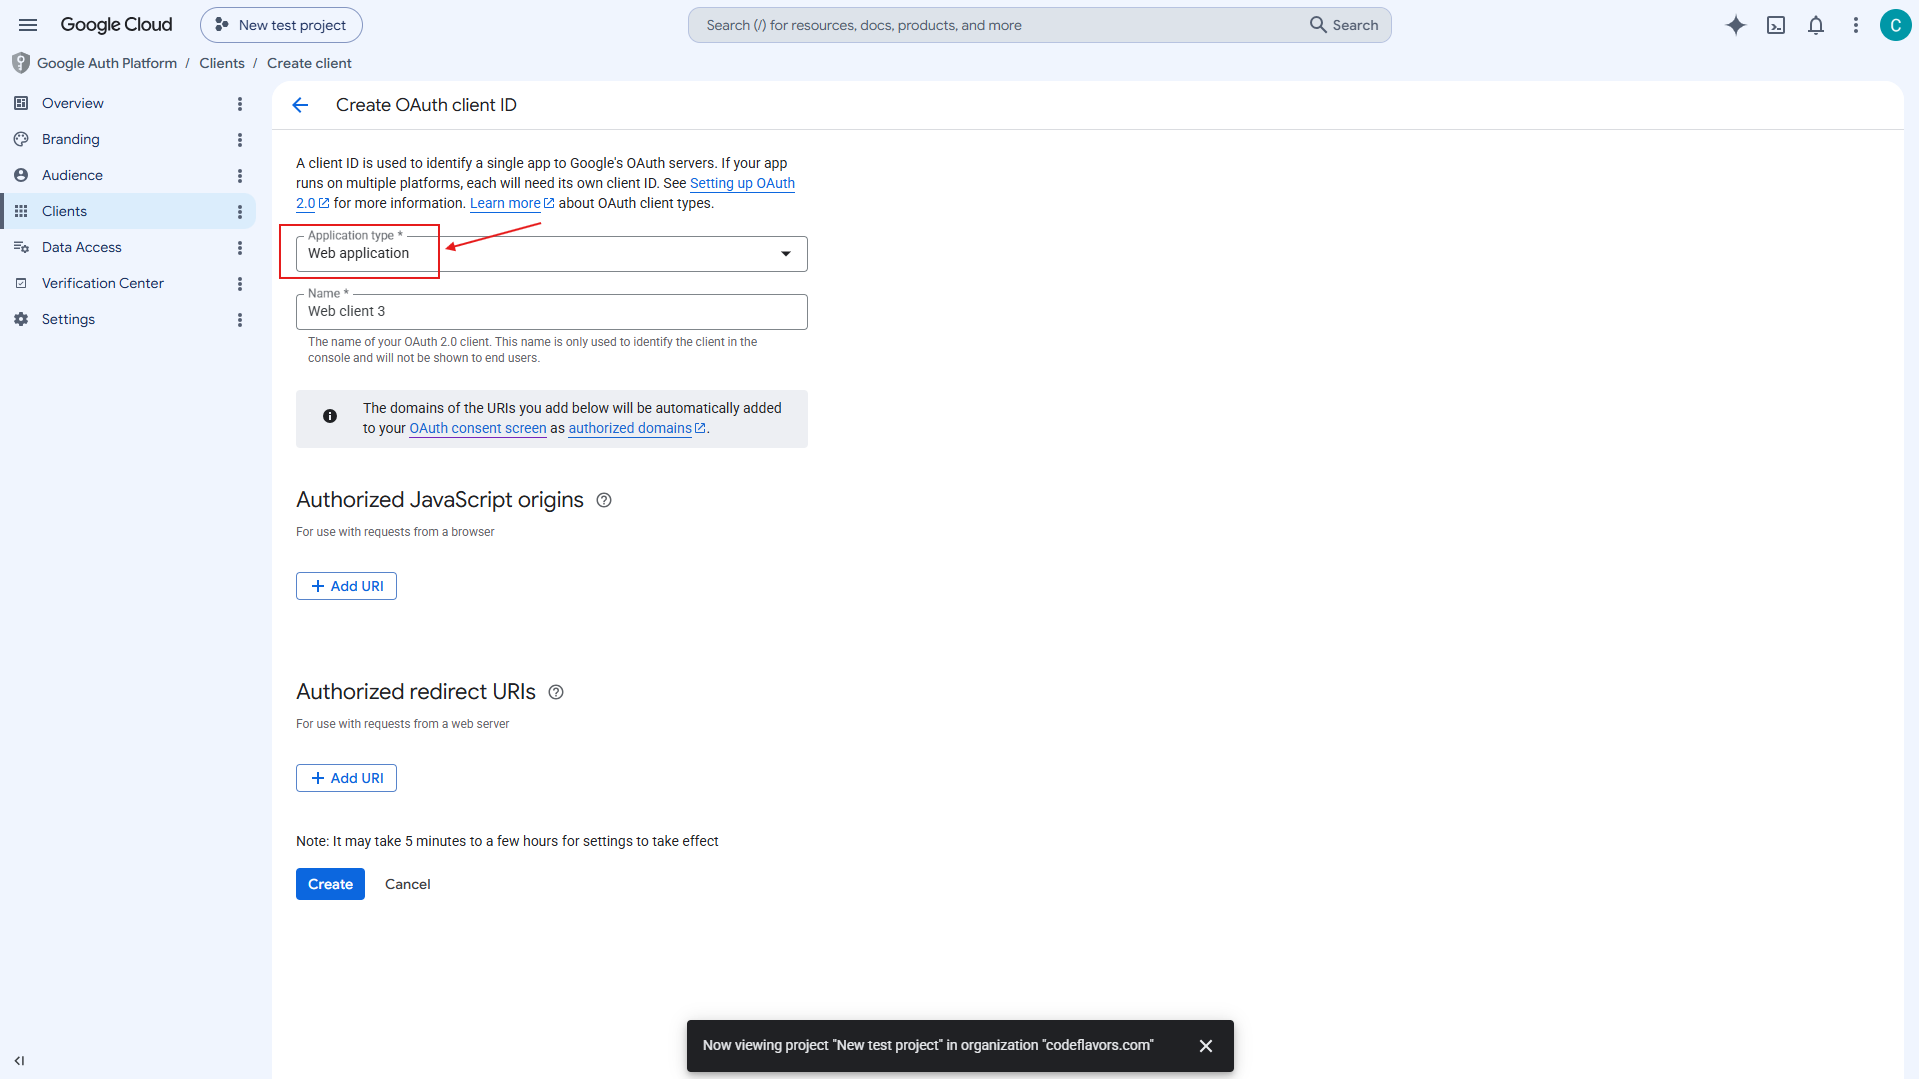
4. Set up the consent screen
Under Branding, fill in the details users see when they grant access: your App name (e.g. Video Hub), a user support email, and your site’s home page, privacy policy and terms links. These appear on the OAuth consent screen.
5. Add your site’s redirect URI
Video Hub gives you the exact redirect URI to use. In WordPress, open Videos → Settings, go to the API & License tab, and copy the redirect URI shown in the YouTube OAuth credentials section.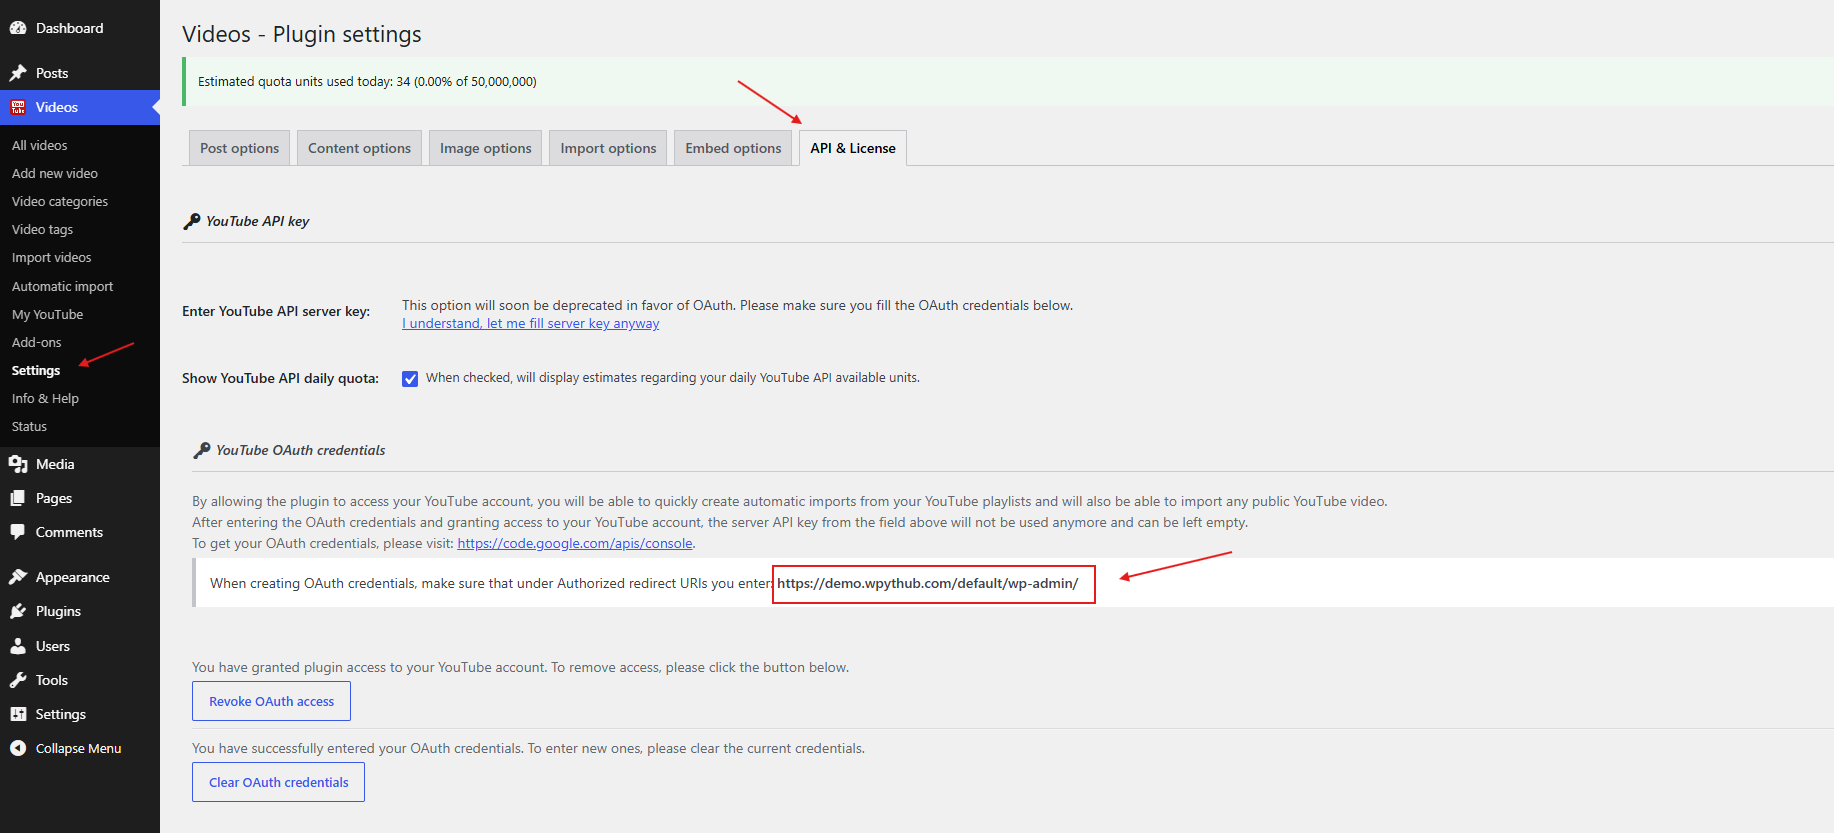 Back in Google, paste it under Authorized redirect URIs on your OAuth client, then save.
6. Copy your credentials into Video Hub
Open your OAuth client to see its Client ID and Client secret. Copy them now — Google no longer lets you view a secret again after it’s created. Paste the Client ID and Client secret into the API & License tab in Video Hub, save, and grant access to your YouTube account. That’s it — Video Hub is now connected to YouTube via OAuth.
Connected? Start importing
Turn a channel or playlist into real WordPress posts — automatically. See the YouTube video importer.